How to Install Your World Expansion Sound Pack
Choose your instrument to get started:
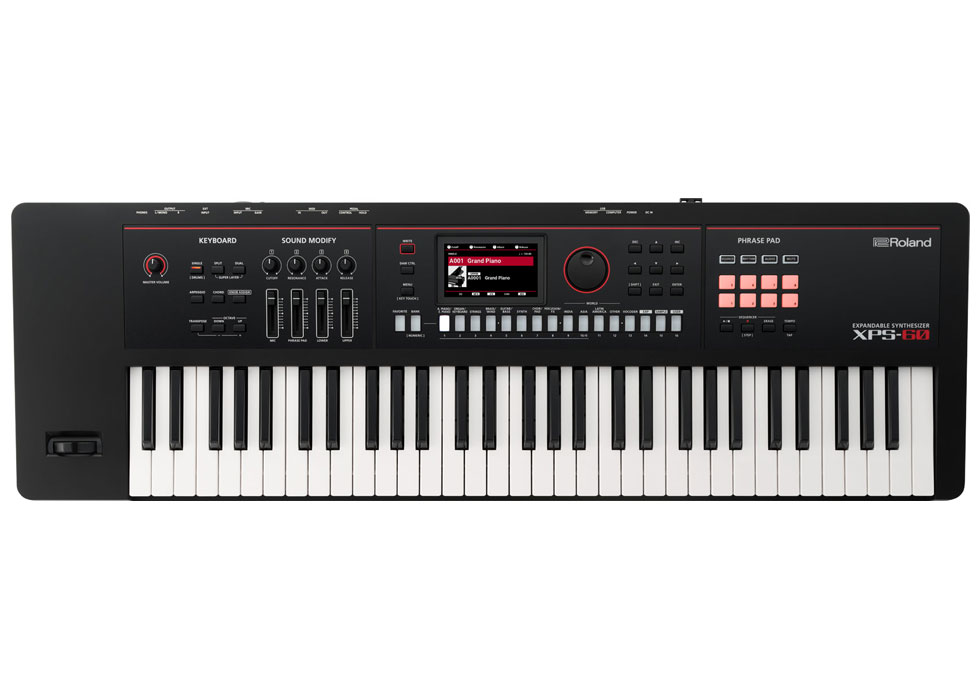

XPS-10X / XPS-60
1. Get Roland Cloud Manager
Create or sign in to your free Roland account, then download and open Roland Cloud Manager.Don’t have an account? Click here to create your free Roland account.
2. Download your sounds
In Roland Cloud Manager, select your XPS-10X or XPS-60 and download your World Expansion (.exz) file to your computer.3. Prepare your USB drive
If you’re using the USB drive with your XPS for the first time, format it on the instrument before continuing. USB requirement: Use a compatible USB flash drive (32 GB or smaller).
Using a new USB? How to format your USB drive
Insert the USB drive into your XPS. Press MENU, select UTILITY, then select FORMAT USB MEMORY. Follow the on-screen confirmation prompts to format the drive. Formatting erases the contents of the USB drive, so back up anything you want to keep first.
4. Copy the expansion to USB
Copy the downloaded .exz file to the root directory (top level) of the USB drive – not inside another folder. Safely eject the USB drive from your computer.
5. Install it
Insert the USB drive into your XPS, then follow:
MENU > UTILITY > EXPANSION > INSTALL
Select your World Expansion and follow the on-screen confirmation prompts to install it.
IMPORTANT: Do not turn off the instrument or remove the USB flash drive while the screen indicates that it is processing.
6. Restart & play
Once installation is complete, restart your XPS. Your new World Expansion sounds are ready to explore.
Need help? Watch the full XPS-10X / XPS-60 installation video guide.

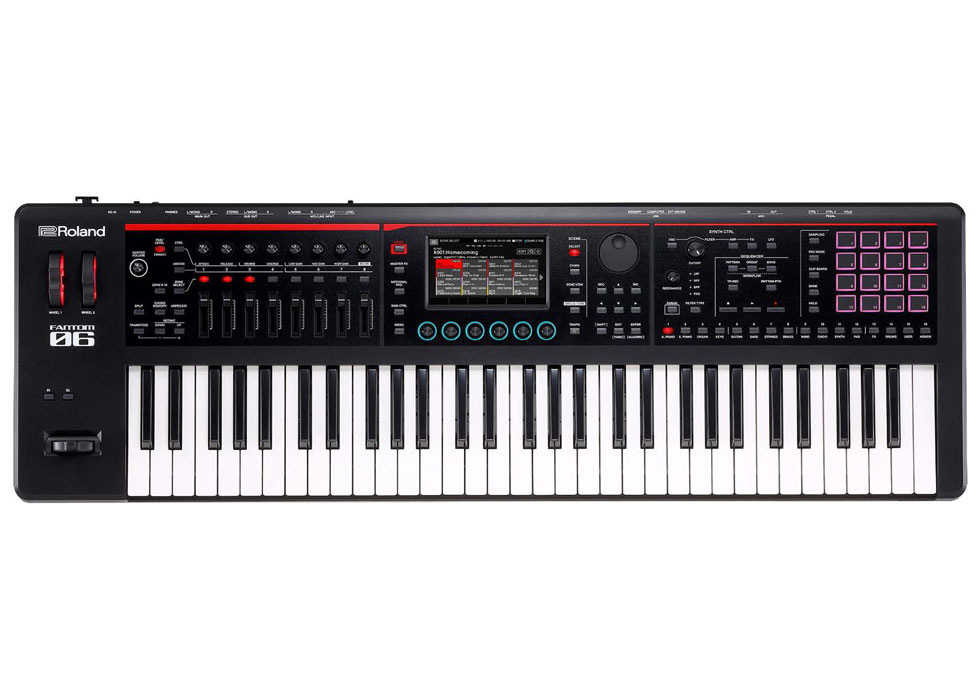
FANTOM-0 Series
1. Get Roland Cloud Manager
Create or sign in to your free Roland account, then download and open Roland Cloud Manager.
Don’t have an account? Click here to create your free Roland account.
2. Download your sounds
Download the World Expansion (.exz) file you want to install using Roland Cloud Manager.
3. Prepare your USB drive
If you’re using the USB drive with your FANTOM-0 for the first time, format it on the instrument before continuing.
Using a new USB? How to format your USB drive
4. Copy the expansion to USB
Copy the .exz file to the root directory (top level) of the USB drive – not inside another folder. Safely eject the USB drive from your computer.
5. Install it
Make sure the FANTOM-0 is switched off, then insert the USB drive into the USB MEMORY port.
Hold down the [TEMPO] button while turning the instrument on. The EXPANSION screen will appear.
Press [E6] (INSTALL), select the World Expansion you want to install, then press [E6] (INSTALL) again. When the confirmation appears, press [E5] (OK).
IMPORTANT: Do not turn off the FANTOM-0 or remove the USB flash drive while the screen indicates “working.”
6. Restart & play
Once installation is complete, restart your FANTOM-0. Your new World Expansion sounds are ready to explore.