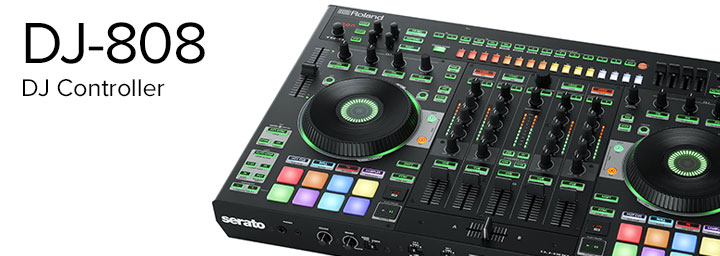
DJ-808
- 909 Low Tom/808 Low Tom/707 Low Tom
- 909 Rim Shot/808 Rim Shot/707 Rim Shot/606 Rim Shot
- 909 Ride Cymbal/707 Ride Cymbal
- 606 Crash Cymbal
- 808 Cowbell
TR-S Master Effects
It also includes 3 new TR-S Master effects. These effects are applied directly to the TR-S section and the settings are automatically saved into the current kit.
- Drive
- Compressor
- Transient
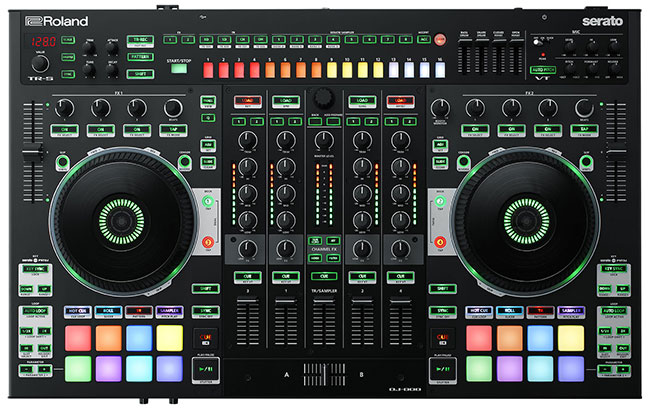
To apply TR-S Master effects to a kit, press the ACC (Accent) button. The instrument adjustment knobs will apply the effects.
– Attack applies the Compressor – Makes the overall volume more consistent.
– Decay applies a Transient effect – Gives the sound sharper definition by boosting the attack and suppressing the decay.
– Tune applies a Drive effect – Adds distortion to the kit.
4 New Channel Effects
The 1.1 update expands the DJ-808’s channel effects from 4 to 8. To use the additional effects, press [SHIFT] and turn the appropriate channel effect knob.
Shift + Dub Echo = Delay
Shift + Jet = Phaser
Shift + Noise = Noise #2
Shift + Filter = Bit Crusher
VT Delay
The VT section of the DJ-808 contains a built-in Reverb. With the 1.1 update, you can select from 3 options. Reverb, Delay or Reverb + Delay. This is selectable in your System Settings, where you can customise your Roland DJ controller to your personal preferences.
To change the reverb setting, go into System Settings by holding down PANEL while turning on the power. Then hold the ACC (Accent) button and turn the rotary encoder to change the vocal effect setting.
Backspin
You can now backspin the platters on the DJ-808 and have the song continue to play and slow down after you take your hand off the platter, just like it does when playing on a vinyl turntable.
This is also available in the System settings. Enter System Settings as above, then hold the SD button and turn the rotary encoder to select. You have 4 options for backspin: Off, Short, Normal and Long.
If you are using the TR-S drums or sequencing Serato sampler and are not tempo syncing your tracks, you can also set the tempo of the TR-S using Tap Tempo. Hold SHIFT and tap the TR-S headphone CUE button to set the TR-S tempo.
6 Channel Aux Mode
As mentioned, one of the amazing new features specific to the DJ-808 is the 6 Channel Auxiliary mode. This routes the 2 AIRA link USB inputs and the four RCA line inputs directly to the DJ-808 output. So, you are able to connect 6 external instruments and combine them with 4 channels of audio coming from Serato. When combined with the TR-S and the mic input, that’s 12 audio sources!
When using Aux mode, the levels for the external instruments are controlled on the units themselves. The AIRA link USB ports will still sync your instruments to Serato. If you wish to sync the instruments that are connected to the RCA line inputs, just connect a MIDI cable to the MIDI Out on the DJ-808.
To set the DJ-808 to Aux mode, enter the System Settings, hold down the BD button and turn the TR-S rotary until the display reads ON.
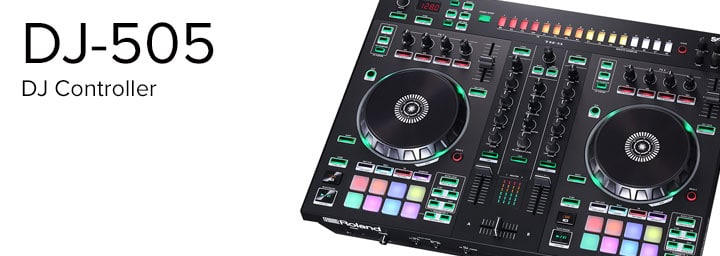
DJ-505
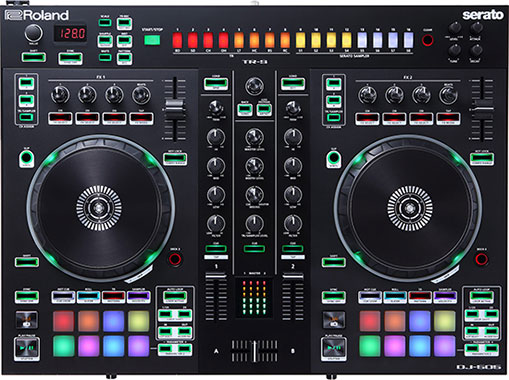
New TR Sounds
The 1.10 update adds two new iconic drum machines to the DJ-505, the TR-707 and TR-606. All are recreated by component, using Roland’s ACB technology and are completely editable and tweakable. The new sounds available on the DJ-505 are:
- 707 Bass Drum/606 Bass Drum
- 707 Snare Drum/606 Snare Drum
- 707 Closed Hi-Hat/606 Closed Hi-Hat
- 707 Open Hi-Hat/606 Open Hi-Hat
- 707 Low Tom/606 Low Tom
- 707 Hand Clap
- 707 Rim Shot
- 707 Ride Cymbal
- 606 Cymbal
Once the update is installed, hold down the TR instrument button (BD, SD, CH, OH, LT, HC, RS, RC) and turn the rotary encoder to select the alternate sounds. You can then tweak them with the Trim, Tune, Attack and Decay knobs.
Using these new instruments, the DJ-505 also contains an updated range of Kits. There are now 12 preset kits available, containing a mix of TR drum sounds. To select different kits, hold SHIFT and press [INST]. The INST button will now blink. Select your kit on the TR-S steps 1-12.
Another new kit function is the Copy function. This is great if you want to have a couple of different variations of kits that are similar, without having to recreate them from scratch. When in Kit Select, hold SHIFT and press the TR-S pad of the source kit. The pads you can select as the destination will blink yellow.
TR-S Master Effects
The DJ-505 also includes the 3 new TR-S Master effects. These effects are applied directly to the TR-S section and the settings are automatically saved into the current kit.
- Drive
- Compressor
- Transient
To apply TR-S Master effects to a kit, go into the Kit Select mode by holding down SHIFT and press [INST] so that it blinks.
– Attack applies the Compressor – Makes the overall volume more consistent.
– Decay applies a Transient effect – Gives the sound sharper definition by boosting the Attack and suppressing the Decay.
– Tune applies a Drive effect – Adds distortion to the kit.
You can now loop a single step of the TR-S sequencer to create Rolls. While the pattern is playing, hold down SHIFT and press [SCALE], it will blink quickly. Then when you press a step on the TR-S, all the instruments on that step will play back looped. When you release, it continues playing as normal. To hold the roll, keep holding the SHIFT button while you press the TR-S step and it will continue to loop until you press that TR-S step again.
Customise your Feel
You can change the sensitivity of the performance pads and the jog wheels on the DJ-505. If you have a light touch and scratch, or do a lot of finger drumming, you’ll want them to be very sensitive.
However, if you are heavy handed and don’t want accidental triggers in a dark club environment, you might want lower sensitivity. Enter the System Settings, by holding down the right LOAD button while turning on the power. The left side of the performance pads select sensitivity settings. Pad 1 is for the performance pads, pad 2 is for the jog wheels.
You can also backspin the platters on the DJ-505 and have the song continue to play and slow down after you take your hand off the platter, like it does when playing on a vinyl turntable. This is also available in the System Settings. Enter System Settings as above. The 3rd performance pad on the left side selects the backspin length. You have 4 options for backspin: Off, Short, Normal and Long.
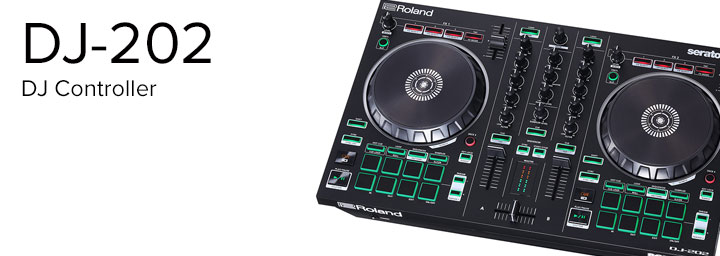
DJ-202
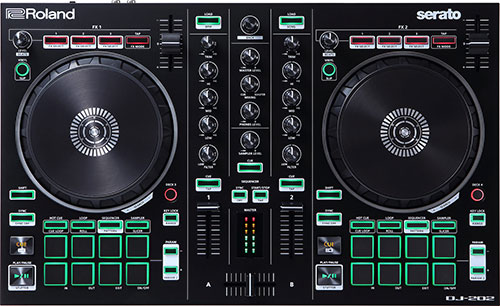
The ability to adjust platter sensitivity has also been implemented on the DJ-202. If you are looking to scratch, or just want better platter response, the Roland High Res platters give you the ability to refine your feel. Enter the System Settings by holding down the LOAD button on the right side of the DJ-202 while plugging in the USB cable. Then, press the second performance pad on the right hand side to adjust sensitivity by using the rotary selector.
Backspin
The DJ-202 also includes the Backspin upgrade, where you can spin a platter backwards and have the song continue to play and slow down after you take your hand off the platter, like it does when playing on a vinyl turntable.
This is also available in the System Settings. Enter System Settings as above. The 3rd performance pad on the left side selects the backspin length. You have 4 options for backspin: Off, Short, Normal and Long.
Visit the product pages download section to download the 1.1 updates for your controller. Be sure to download the latest manual with more information on the System.

