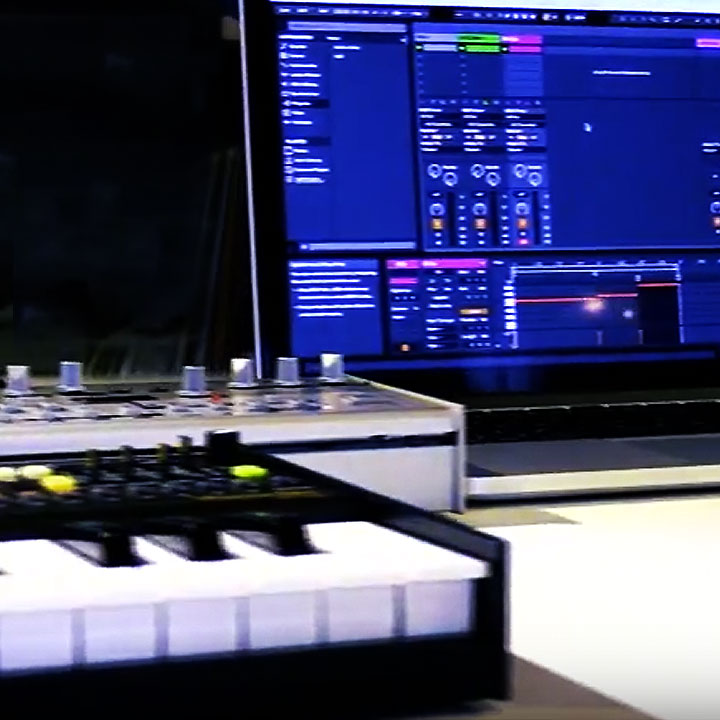
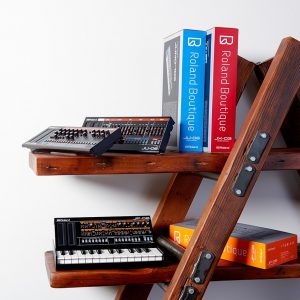
Using your Roland Boutique with Ableton Live will offer you some seriously impressive results. With iconic and legendary Roland instruments now available in studio and stage friendly modules, the Roland Boutique series gives you the ability to bring classic sounds to your mixes.
Maybe you’ve always wanted a Jupiter-8 style pad, a TR-909 sounding kick or a gritty TR-303 bass line in your music, but an original model isn’t an option and you don’t want to rely on soft synths.
That’s where the Roland Boutique series come in combined with the power of a modern DAW like Ableton Live.
Let’s find out how!
Contributed by David Whitehead for Roland Corporation Australia
Recording Your Boutique Into Ableton Live
In this video, you’ll set up your Roland Boutique as an audio input device, to record audio into Ableton Live. You can also do this to use Ableton Live’s effects with your Boutique’s sound, in either the studio or during a live performance.
After downloading the driver for your Boutique module and connecting it to your computer via USB, open Ableton Live.
Open Preferences. When the Preferences screen appears, select Audio > Audio Input Device. You will see your Boutique. Select it as the INPUT device.
Still in the Audio Device area, click Input Config (located next to Channel Configuration) and select the channels you want to use, i.e. 1 / 2 (stereo).
Select Create > Insert MIDI Track. From the Live Devices menu on the left side column, select Instruments > External Instrument and drag it to the new MIDI track.
In the External Instrument control, located underneath your audio and MIDI channel strips, select MIDI To > Your Boutique and Audio From > Your Boutique.
Add an audio track from Create > Insert Audio Track to record the incoming audio.
Now, MIDI files from Ableton Live will route to the Boutique and audio from it will return to Ableton Live.
Using Your Boutique As An Audio Output Device
You might want to route your audio from Ableton Live through your Boutique. As an example, this is a great way to send other audio through the VP-03 Vocoder. Not only that, it’s also handy as a portable writing/performing setup when you do not need to bring another audio interface.
Similar to setting your Boutique up as before, go to Preferences. In the Audio tab, select Audio Output and in the drop-down menu, select your Boutique. Enable the Audio Out channels of your choice (i.e. 1 / 2 Stereo) from Output Config and away you go!
Syncing With Ableton Live
In this video, we show you how to sync your Boutique with Ableton Live. The Boutique will then play in time with your Live clips or session. This is great for writing music, or performing live.
Open Preferences > MIDI Sync. You will see your Boutique module listed. Enable Sync and Remote for the Boutique MIDI Output.
To monitor the Boutique’s output in Ableton Live, select Create > Insert Audio Track. In your selected audio track, open the drop-down menu from Audio From and choose your Boutique device.
Set Monitor to Auto and arm the track for Record. Press PLAY in Ableton Live and your Boutique will start in time.
Syncing Ableton Live To The Boutique
What if you want the Boutique to be the master device and have all of your Live parts slave triggered from the Boutique’s clock?
In Preferences > MIDI Sync, enable Sync and Remote on the Boutique’s MIDI Input.
Click the EXT button in the top left hand corner of Ableton Live. Now when you press PLAY on your Boutique, Live will start in time.
Controlling Your Boutique Modules Using MIDI Automation
You can set Ableton Live to control the parameters of your Boutique. This will adjust all the Boutique settings in real time. You can use this to automate Boutique parameters, live and in production, or to recall settings for different sessions.
Under the MIDI Sync tab in Preferences, enable Track on the Boutique’s MIDI OUT. Keep the Sync switched on to ensure that it plays in time.
Go to Instruments > External Instrument and add the External Instrument to a MIDI track. Set MIDI to the Boutique from the External Instrument control (via MIDI To) and select the corresponding MIDI Channel. Select the audio from the channel (via Audio From).
Create a MIDI clip in your MIDI track and enable the envelopes using the E button on the bottom left hand side of the Clip. Refer to the MIDI Implementation Chart for your Boutique to see what MIDI CC number corresponds to the parameter you want to automate. In the above video, we’ve used Filter Cutoff on the TB-03, #74.
Select this number from the drop-down menu under MIDI CTRL in the Envelopes section and draw in your automation points in the clip window. Press PLAY and hear your Boutique follow the MIDI clip.
Sampling Into The VP-03 From Ableton
The VP-03 Vocoder also enables you to sample into the step sequencer. You can record samples into it live, or from your DAW. For instance, this is great if you’re not a singer, or if you want to use it to affect instrument or drum sounds.
In the Audio tab of Ableton Live’s Preferences, set the Audio Output device to VP-03. Open the Output Config and make sure you enable tracks 3-6. On the track containing your samples, set the Audio To as Ext Out and to track 3/4.
Now go to the VP-03, hold a step and press PLAY/STOP. Play the sample in Live and it will record into the VP-03. Repeat for all desired steps.
To sum up, your samples will now be saved into the VP-03 and you can play back the sequence either effected, clean or blended with the String and Human Voice synth sounds.
MIDI Implementation Charts
TR-09 MIDI Implementation Chart
TB-03 MIDI Implementation Chart
VP-03 MIDI Implementation Chart
Related Articles
HOW TO INTEGRATE MULTIPLE DEVICES ON YOUR MAC
SEVEN MORE HIDDEN FEATURES OF THE ROLAND BOUTIQUES
SEVEN HIDDEN FEATURES OF THE ROLAND BOUTIQUE SYNTHS
TR-09 VS. TR-8
TB-03 VS. TB-3


